Charts
Charts allow you to look at spreadsheet data in a visual format using a variety of graph types. Before you can make a chart, you must first enter data into a worksheet. This page explains how you can create simple charts from
the data.
1. Enter the data into the worksheet and highlight all the cells that will be
included in the chart including headers. In this example, cells A1 through B10 have data entered into them and they are subsequently selected.
2. Click the Chart Wizard button on the standard toolbar to view the first Chart
Wizard dialog box.

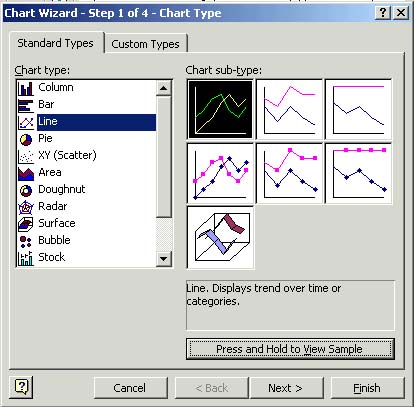
3. Chart Type - Choose the Chart type and the Chart subtype if necessary. Click
Next.
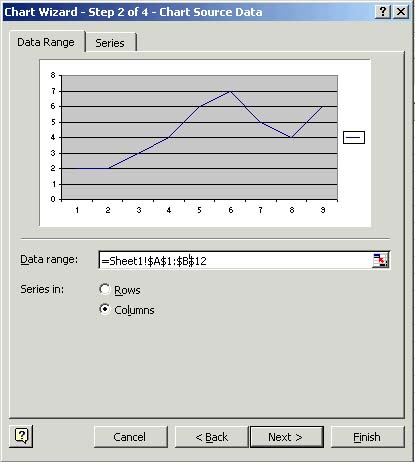
4. Chart Source Data - Select the data range (if different from the area
highlighted in step 1) and click Next.
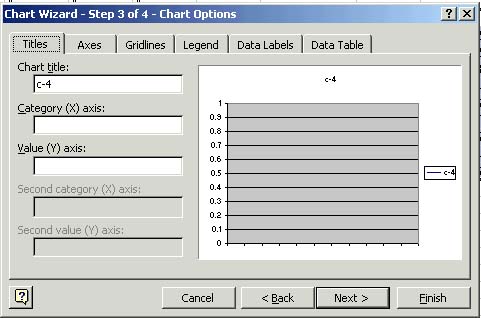
5. Chart Options - Enter the name of the chart and titles for the X- and Y-axes.
Other options for the axes, grid lines, legend, data labels, and data table can
be changed by clicking on the tabs. Press Next to move to the next set of
options.
6. Chart Location - Click As new sheet if the chart should be placed on a new,
blank worksheet or select As object in if the chart should be embedded in an
existing sheet and select the worksheet from the drop-down menu.
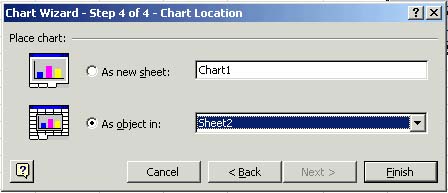
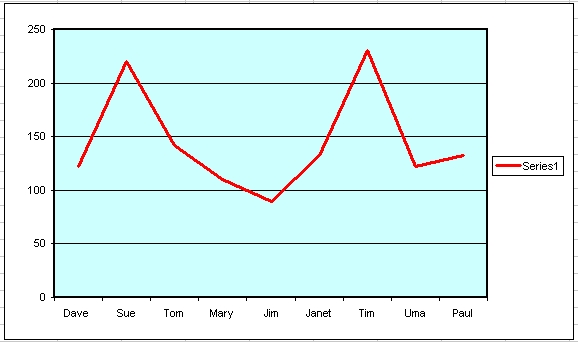
7. Click Finish to create the chart.
Resizing the Chart
To resize the chart, click on its border and drag any of the nine black handles
to change the size. Handles on the corners will resize the chart proportionally
while handles along the lines will stretch the chart.
Moving the Chart
Select the border of the chart, hold down the left mouse button, and drag the
chart to a new location. Elements within the chart such as the title and labels
may also be moved within the chart. Click on the element to activate it, and use
the mouse to drag the element to move it.
Chart Formatting Toolbar
Chart Objects List - To select an object on the chart to format, click the
object on the chart or select the object from the Chart Objects List and click
the Format button. A window containing the properties of that object will then
appear to make formatting changes.
Chart Type - Click the arrowhead on the chart type button to select a different
type of chart.
Legend Toggle - Show or hide the chart legend by clicking this toggle button.
Data Table view - Display the data table instead of the chart by clicking the
Data Table toggle button.
Display Data by Column or Row - Charts the data by columns or rows according to
the data sheet.
Angle Text - Select the category or value axis and click the Angle Downward or
Angle Upward button to angle the the selected by +/- 45 degrees.
Copying the Chart to Microsoft Word
A finished chart can be copied into a Microsoft Word document. Select the chart
and click Copy. Open the destination document in Word and click Paste.